

| Real-Time Workshop User's Guide | |
Part 2: Building the Target Executable
In this section, you set up the model and code generation parameters required for an external mode compatible target program. Then you generate code and build the target executable.
Fixed-step, and the algorithm to discrete (no continuous states). Set Fixed-step Size to 0.01. Leave the other parameters at their default values.
By default, the GRT target should be selected, as shown in this picture.
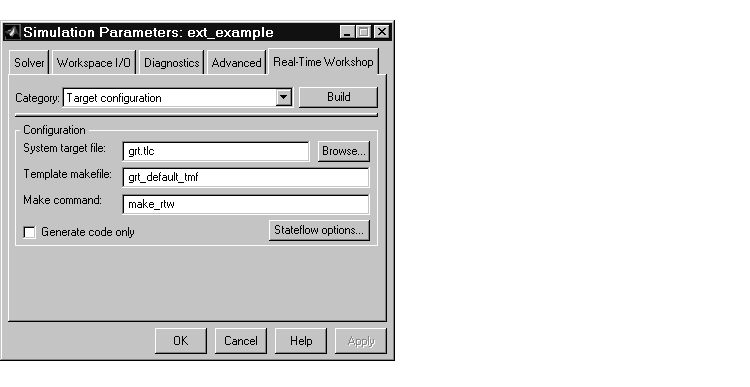
If the GRT target is not selected, click the Browse button and select the GRT target from the System Target File Browser. Then click OK to close the browser. Return to the Real-Time Workshop page and click Apply.
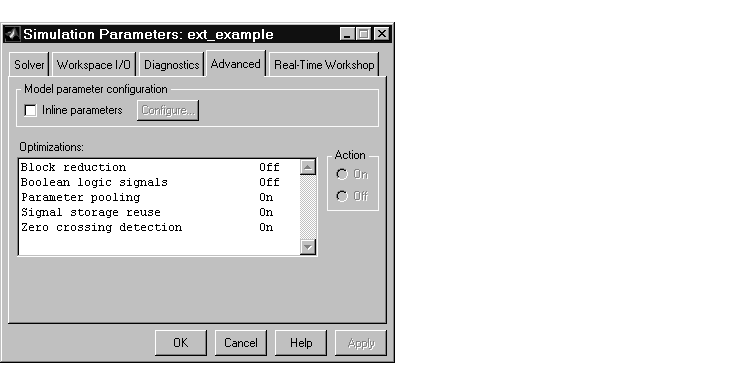 The Advanced page should look like this picture.
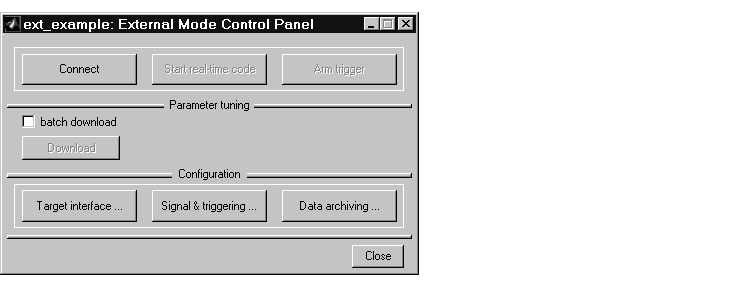
The top four buttons are for use after the target program has been launched. The three lower buttons open three separate dialog boxes:
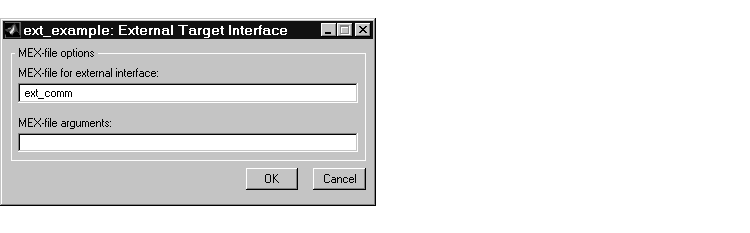
The MEX-file for external interface field specifies the name of a MEX-file
that supports host/target communications on the host side. The default is
ext_comm, a MEX-file provided by the Real-Time Workshop. ext_comm
supports communication via the TCP/IP communications protocol.
The MEX-file arguments field lets you specify arguments, such as a TCP/IP server port number, to be passed to the external interface program. Note that these arguments are specific to the external interface file you are using. For information on these arguments, see "The External Interface MEX-File" on page 5-40.
This exercise uses the default arguments. Leave the MEX-file arguments field blank.
The External Target Interface dialog box should appear as shown below.
### Successful completion of Real-Time Workshop build procedure
for model: ext_example
In the next section, you will run the ext_example executable and use Simulink as an interactive front end to the running target program.
| | Part 1: Setting Up the Model | Part 3: Running the External Mode Target Program | |