
| Real-Time Workshop User's Guide |   |
Part 3: Running the External Mode Target Program
The target executable, ext_example, is now in your working directory. In this section, you run the target program and establish communication between Simulink and the target.
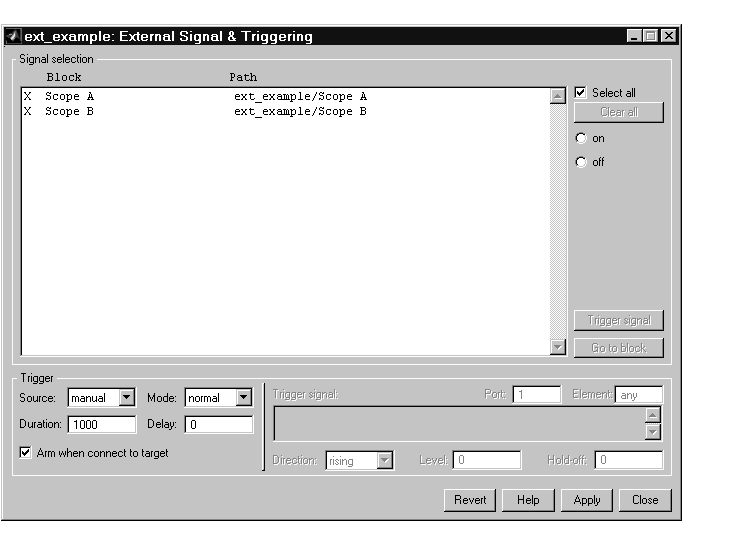
The External Signal & Triggering dialog box displays a list of all the blocks in your model that support external mode signal monitoring and logging. The External Signal & Triggering dialog box also lets you configure which signals are viewed and how they are acquired and displayed. You can reconfigure the External Signal & Triggering dialog box while the target program runs.
In this exercise you will observe and use the default settings of the External Signal & Triggering dialog box.
ext_example.
Click Close and return to the External Mode Control Panel. Close the External Mode Control Panel.
Xterm window). At the command prompt, type
ext_example -tf inf -w
and the target program begins execution.
The -tf switch overrides the stop time set for the model in Simulink. The
inf value directs the model to run indefinitely. The model code will run until
the target program receives a stop message from Simulink.
The -w switch instructs the target program to enter a wait state until it
receives a Start real-time code message from the host. This switch is
required if you want to view data from time step 0 of the target program
execution, or if you want to modify parameters before the target program
begins execution of model code.
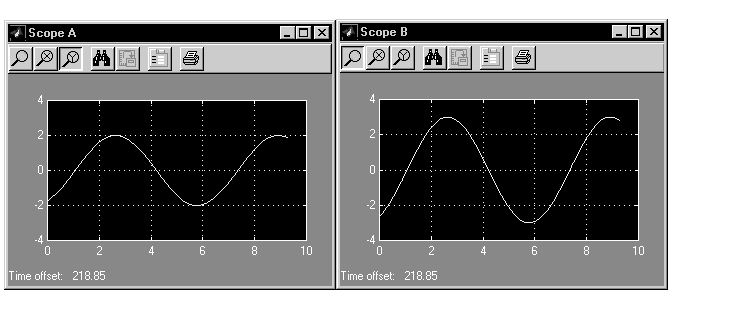
A=2 and B=3, the output looks like this.
Having established communication between Simulink and the running target program, you can tune block parameters in Simulink and observe the effects the parameter changes have on the target program. You will do this in the next section.
 | Part 2: Building the Target Executable | Part 4: Tuning Parameters |  |